When I first started planning my trip to Seattle, I did what every frugal-but-ambitious traveler does—I made a long list of places I absolutely had to see: the Space Needle, Chihuly Garden and Glass, the Museum of Pop Culture, maybe even a harbor cruise if the weather cooperated. The list kept growing, and so did my concern for my budget.
Seattle isn’t a cheap city. Attractions can run \$30, \$40, even \$50 per person, and if you’re traveling with a partner, friends, or your whole family, it adds up fast. That’s when I stumbled across the two most talked-about sightseeing cards: the Go Seattle Pass and CityPASS Seattle.
I’ll be honest—at first, it was overwhelming trying to figure out which one was the better deal. Each promised savings, flexibility, and skip-the-line perks. But they’re quite different in structure and experience. Now that I’ve used both (on two separate trips), I want to share my real-world insights to help you choose the right one.
This article isn’t just about prices and attraction lists—it’s about how the experience feels. Because travel isn’t just about saving money. It’s about what you get for what you spend. And how it fits into your rhythm, your pace, and your priorities.
Why Consider a Seattle City Card in the First Place?
If you’ve never been to Seattle, here’s something to know: this is a city of icons. The kind of place where the main attractions are actually worth the hype. The Space Needle? Jaw-dropping. Chihuly Garden and Glass? A kaleidoscope of light. MoPOP? A playground for music lovers and gamers alike. You won’t want to skip them—but if you’re paying full price for each, you could easily blow through \$150+ in two days.
That’s where Seattle city cards come in. Think of them like all-access passes to Seattle’s best—designed to save you money if you’re seeing multiple attractions in a short span. But, like any deal, it’s only a deal if it works for how you travel.
City cards are perfect for first-time visitors because they take out the guesswork. You don’t have to line up at every ticket booth. You don’t have to wonder, “Is this museum really worth the \$30 entry?” It’s already covered. You can walk in, explore, and move on to your next stop without pulling out your wallet again.
They also help you stay focused. With a pass in hand, you’re more likely to make the most of your day—and discover places you might have otherwise skipped. If you’re planning to hit three or more big-ticket attractions, a city card quickly becomes one of the smartest investments in your Seattle adventure.

CityPASS Seattle: Simple, Classic, Straight to the Icons
🎟 What You Get:
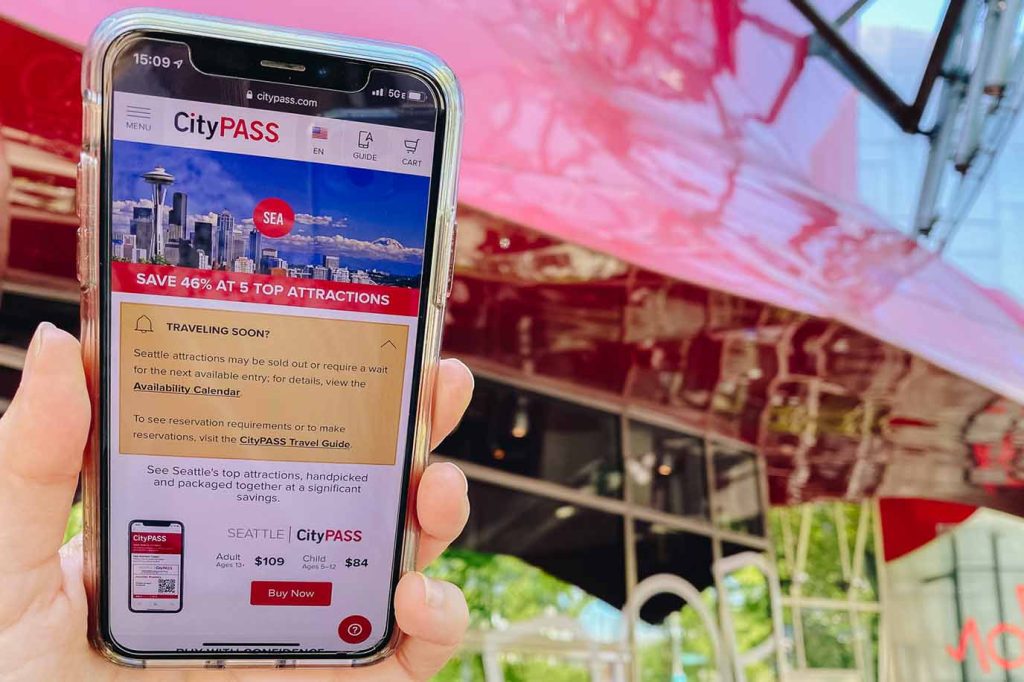
With CityPASS Seattle, you pay one fixed price (around \$117 for adults, \$87 for kids) and get access to 5 of Seattle’s top attractions—two are fixed, and the other three are chosen from a list of options.
Here’s what I loved: it’s straightforward. You know exactly what’s included, and it’s mostly what first-time visitors already want to see.
✅ What’s Included:
- Space Needle (day + night admission!)
- Seattle Aquarium
- Plus your choice of 3 of the following:
- Museum of Pop Culture (MoPOP)
- Chihuly Garden and Glass
- Woodland Park Zoo
- Argosy Cruises Harbor Tour
I loved that there was no pressure to rush from place to place in one or two days. CityPASS gives you 9 consecutive days to use all five entries, which is huge if you’re traveling with kids, or just don’t want to be sprinting from exhibit to exhibit like you’re in a tourist marathon.
Go Seattle Pass: Customizable and Packed With Options
🎫 What You Get:
The Go Seattle Pass (from Go City) is a bit more complex, but incredibly flexible. You can buy it in two formats:
- All-Inclusive Pass: Access to 25+ attractions over 1, 2, 3, or 5 days.
- Explorer Pass: Pick 2 to 7 attractions from their curated list; you have 60 days to use it.
This pass was perfect for me when I visited with friends who had different interests. One day we did a museum sprint, another day we did a whale-watching cruise (yes, that’s included on the higher-tier options), and we even squeezed in a food tour.
💡 Some Included Highlights:
- Space Needle
- Chihuly Garden and Glass
- MoPOP
- Seattle Aquarium
- Argosy Cruises
- Seattle Pinball Museum
- Pacific Science Center
- Museum of Flight
- Guided city tours, food tours, kayak rentals
- Even a Mount Rainier day trip (with select Explorer tiers)
This pass shines when you want more than just the big five. It’s also great for second-timers or people staying longer than a weekend.
My Personal Experience with Each Pass
🧭 When I Used CityPASS
My first time in Seattle, I went with CityPASS. It was my first trip to the city, and I wanted to hit the classics. I was staying downtown (thanks to a great deal on Booking.com, by the way), and everything was nearby. In three days, I managed to:
- Ride to the top of the Space Needle twice
- Gawk at glowing glass in Chihuly
- Walk underwater at the Seattle Aquarium
- Jam at MoPOP
- Sail Elliott Bay on the Argosy Cruise
The pass paid for itself. More importantly, I didn’t have to make many decisions. I just used it, and it worked beautifully.
🧭 When I Used the Go Seattle Pass
The second trip, I had more time—five days—and more curiosity. I wanted to see The Museum of Flight, which is a little outside the city center, and do the underground tour in Pioneer Square. I also threw in the Pinball Museum, a self-guided foodie tour, and a kayak rental at Lake Union.
This was when Go Seattle shined. The app was slick, booking times was easy, and I felt like I had a VIP card to Seattle’s hidden gems. I ended up saving nearly \$90 vs. paying individually. But I will say—it takes more planning and energy to maximize it.
Who Should Choose CityPASS?
CityPASS is best for:
- First-time visitors who want to see the essentials
- Families with kids who need slower days and less scheduling stress
- Travelers staying for 2–4 days
- People who prefer simplicity and clarity over overwhelming options
It’s especially useful if you’re staying in a central hotel near Seattle Center or the Waterfront. You can easily walk to most of the included attractions.
🧠 Tip:
Book your CityPASS via CityPASS.com or Expedia to bundle it with lodging. I scored an extra 10% off when booking through Expedia Rewards.
Who Should Choose Go Seattle Pass?
Go Seattle Pass (especially the Explorer Pass) is ideal for:
- Longer stays (5+ days)
- Repeat visitors looking to branch out
- Adventurers who want offbeat tours or outdoor excursions
- Planners who love getting the most out of every day
If you’re okay building a rough itinerary and booking in advance for some activities, you’ll get incredible value.
🧠 Tip:
Use GoCity.com directly or check Groupon—they often run 10–20% off sales, especially in shoulder season (March–May, October).
Real Traveler Advice: Make the Most of Your Card
Whichever pass you choose, here are my tried-and-true tips for maximizing your value:
- Download the app in advance. Both CityPASS and Go City have mobile options—don’t rely on printed tickets only.
- Start early in the day. Most Seattle attractions open around 10 a.m.—get a head start to avoid crowds and fit in more.
- Stay near Seattle Center or Downtown. You’ll waste less time commuting. I’ve had great stays with family-friendly rates at The Maxwell Hotel, Hyatt House, and The Westin—all bookable through Hotels.com or Airbnb if you prefer extra space.
- Plan your meals around the attractions. Pike Place Market is walkable from MoPOP and the Aquarium. The Seattle Center Armory has solid, affordable lunch options too.
- Check hours and closures. Especially in off-season, museums may close early or one day per week.
- Travel light and wear layers. Trust me, even in August, Seattle mornings can surprise you with a chill. And nothing’s worse than carrying too much stuff when rushing from MoPOP to the Aquarium.
Where to Book Flights and Hotels for Seattle
Since a lot of readers ask, here’s how I usually build my Seattle trips:
- Flights:
- Google Flights for flexible date pricing
- Skyscanner for alerts
- Alaska Airlines often has deals since it’s based in Seattle
- Hotels & Lodging:
- Booking.com for last-minute downtown deals
- Expedia for bundle savings
- Airbnb for family-sized units or places with kitchens
- Dining Reservations:
- Yelp for user reviews
- OpenTable and Resy for booking tables (especially at Canlis, Taylor Shellfish, or Westward)
Which Pass Wins?
Let me put it this way: CityPASS is your best friend on your first Seattle trip. Go Seattle Pass is your adventure buddy the next time.
If you’ve only got 2–3 days in Seattle and want to hit the big sights with minimal fuss, go with CityPASS. It’s clean, direct, and hits all the essentials. You’ll never regret it.
But if you’ve got time, energy, and curiosity—or you’ve already done the top attractions and want more flavor—Go Seattle Pass offers more freedom and range. It also brings you closer to the off-the-path gems most visitors miss.
And no matter which pass you pick, you’re in for a city that dazzles in subtle ways—sunlight glinting off ferry waves, the scent of cedar in the air, and a skyline that somehow always feels like home.
See you in Seattle. And whichever pass you choose—make it count.
